
What Happens During the Mold Remediation Process, Step by Step
Not knowing what to expect makes any home repair feel bigger than it is. Here’s the general order remediation follows, from the first look to the final check.
Mold remediation follows a fairly consistent order, no matter the size of the job. It starts with figuring out how big the problem actually is, moves through sealing off the space and removing what can’t be saved, and ends with drying everything back to a normal moisture level and confirming the work actually solved the problem. Knowing the order ahead of time makes the whole process feel a lot less like a mystery.
The General Order of the Process
-
Assessment
Before any work starts, the crew looks at how far the mold has spread and, just as important, where the moisture is actually coming from. This step shapes everything that follows, since the size and cause of the problem determine what equipment and time the job will need.
-
Containment
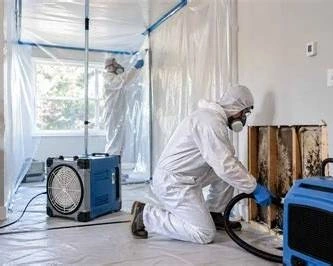
The work area gets sealed off with plastic sheeting and, on larger jobs, negative air pressure equipment. This keeps mold spores from spreading into the rest of the house while the work is happening, so a bathroom problem doesn’t turn into a whole-house problem.
-
Air Filtration
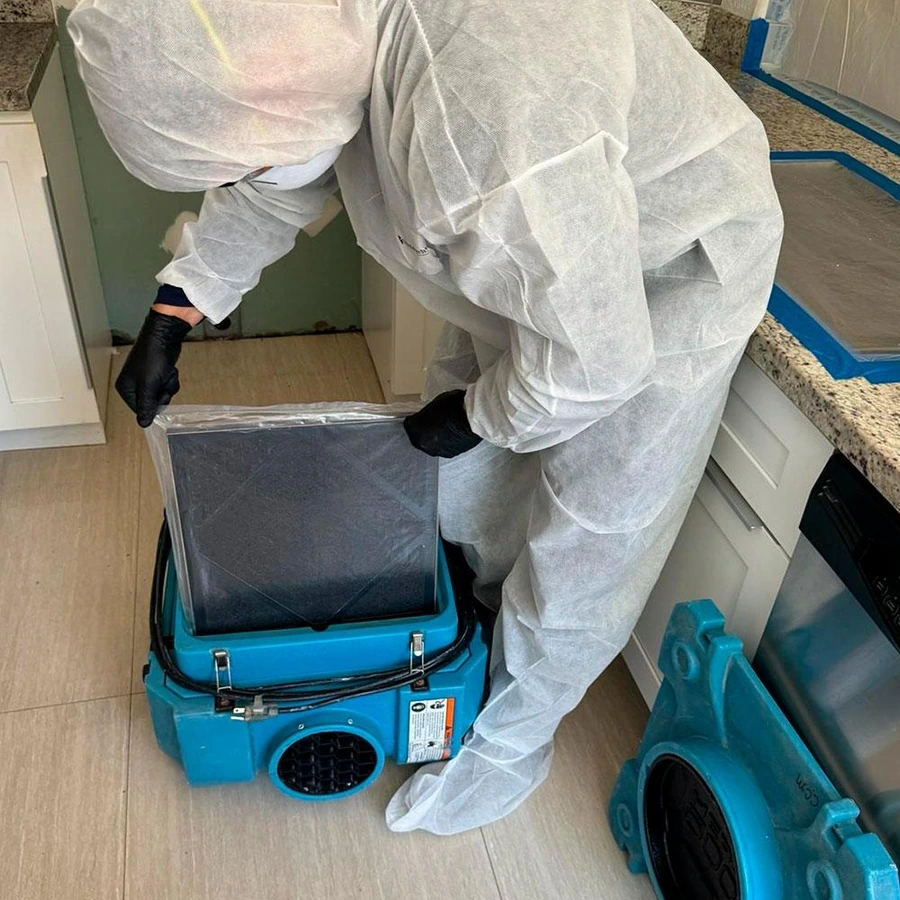
HEPA air scrubbers run throughout the job to capture airborne spores that get disturbed during the work. This step usually continues from removal through the final stages, not just at the start.
-
Removal
Materials that can’t be cleaned, like soaked drywall or ruined carpet padding, get removed and disposed of. Materials that can be salvaged get cleaned instead of replaced, which keeps the job from costing more or taking longer than it needs to.
-
Antimicrobial Treatment
Remaining surfaces get treated with an antimicrobial to address mold that’s too small to see and to help prevent new growth on the same spot.
-
Structural Drying
Dehumidifiers and fans bring the moisture level in the area back down to normal. This step matters as much as the cleanup itself, since materials that stay damp can grow mold again even after everything looks clean.
-
Final Clearance
Once drying is complete, a final check confirms the area meets a normal moisture level and that visible mold is gone. Some jobs include a follow-up air test at this stage to confirm the air itself is back to a normal baseline.
A quick note on order versus overlap. These steps happen roughly in this order, but a few of them run at the same time in practice. Air filtration, for example, usually keeps running through removal and treatment rather than stopping and starting between steps. The order above is the general flow, not a strict one-step-finishes-before-the-next-begins timeline.
If you’re still deciding whether your situation calls for a professional crew at all, our breakdown of DIY versus professional mold removal can help you figure that out first.